Building an image recognition bot can greatly help you offload your day-to-day manual work and save you some precious time. By using PyAutoGUI along with OpenCV you can create such bots with ease :)
NOTE: if you want to skip the guide and just see the code example, click here
Prerequisites
To start this simple, yet powerful journey you should have the following installed:
I highly recommend that you make use of venv to install the packages. This way you will keep your host machine free and clean from project-specific packages.
1. Target
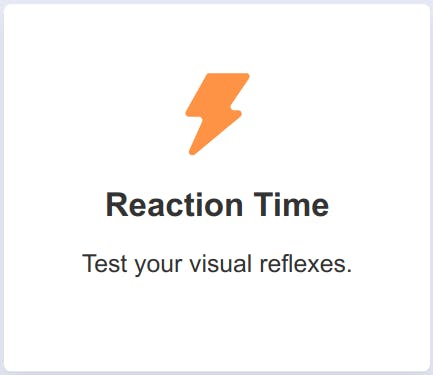
First, you need to find your target — something that has specific “triggers” that could help you automate whatever it is that you want to do. I picked Human Benchmark since they do have some fun tests there which will, later on, help us do some benchmarks too. Once you open up the site you will notice there are quite a few tests in form of mini-games there that one could try out. The one that got my attention is called Reaction Time.
 Human Benchmark — Reaction Time
The concept is pretty simple — load up the game and click on the given space once the background goes green. Once you do that 5 times, you get your speed results. The question is can we create a bot that will do the task for us :)
2. Triggers
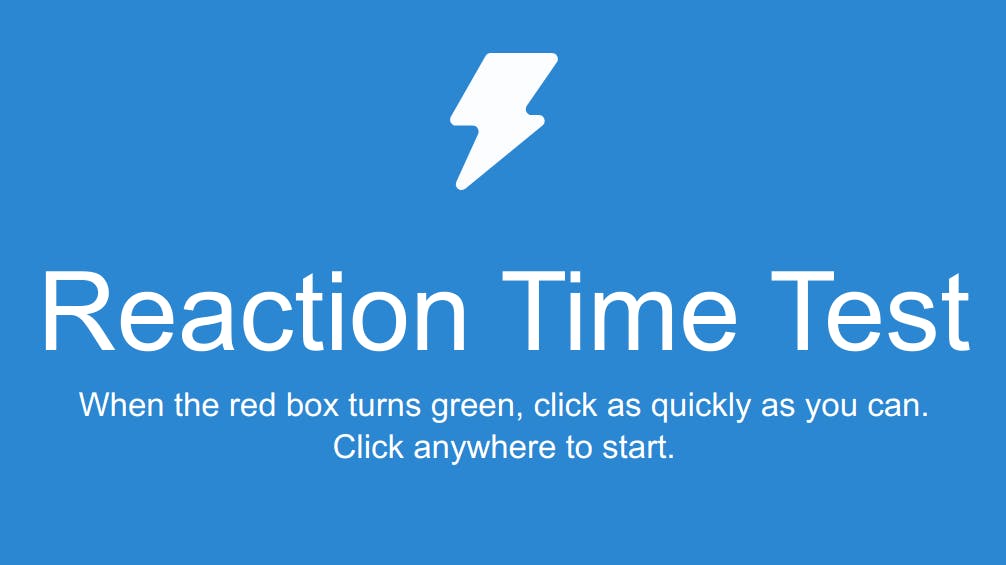
Now that you know how the game works we need to slice it up into small parts that happen along the way. In order to begin the reaction test user is asked to click on the given area in order to launch the next phase of the game.
 Trigger 1 — Click to start
That is your first trigger — someone (or something :D) needs to start the game by clicking on the given area. Once you click on the area the game will start. The very next thing you will see is a big red area that asks you to do — NOTHING. Since the user is asked not to do anything unless the background turns to green color this can’t be considered a trigger, however, you get the idea of what our next trigger is.
 Trigger 2 — Click as fast as you (or something else) can
So for your trigger #2, you are asked to click as soon as the red background turns into a green one. This is a perfect event for our trigger since we have, what you can consider, an image change. After you click on the green area you will be presented with a new screen that requires the user’s attention in form of a left click.
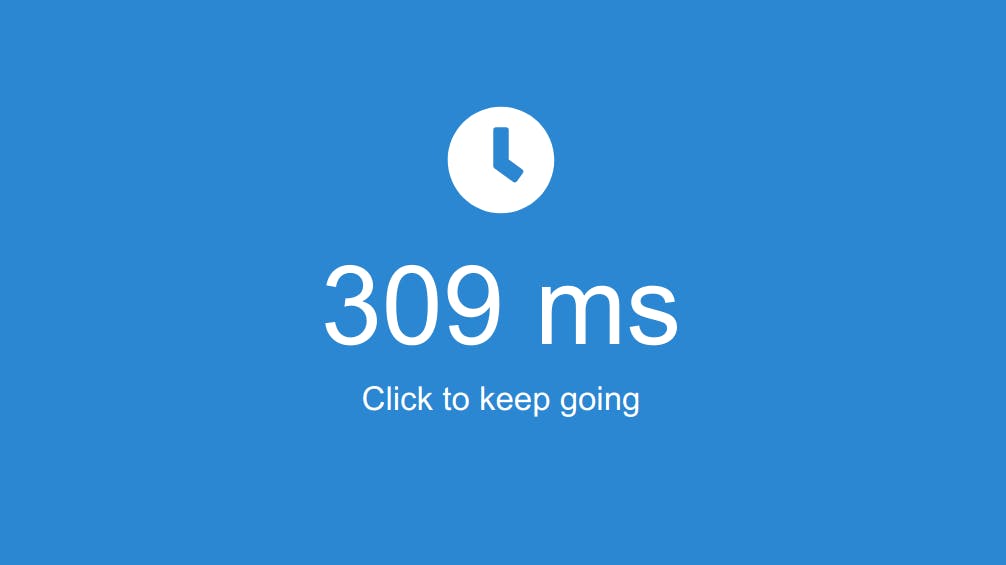
 Trigger 3 — Click to keep going
You get the idea. Everything that requires a click from a user or to do any kind of interaction can be considered a trigger. So this will be your trigger #3. It is time to finish the game so feel free to play the game 5 times. You will then be presented with your average click response time. This screen is not really interesting to us since it only contains some statistics — the main game is, however, finished. Now that you know that info, we can start building the bot.
3. Building the reflex clicker
The idea for the solution is simple — take a screenshot of your screen every now and then and analyze it in order to find which trigger we need.
Recap:
Trigger #1 — Initial click to start the game
Trigger #2 — Click as soon as you see the green background-color
Trigger #3 — Round results along with click action to continue to the next round (5 rounds max.)
First, you need to create the trigger images for the bot to look for once you launch it. These should be cropped-up images of the action points that I mentioned earlier (trigger pictures above). If you want to use the ones I used, feel free to check them out inside my repo. Once you have the trigger images ready we can start to slowly build our code step by step, so open up your favorite Python IDE and let’s create our first lines of code.
class ReflexClicker:
    def __init__(self):
        self.images = (
            cv.imread("img01.png"),
            cv.imread("img02.png"),
            cv.imread("img03.png"),
        )
        self.current_img = self.images[0]
        self.started = 0
        self.states = [False, False, False]
        self.click_count = 0
Trigger images are stored inside the self.images attribute which is a simple tuple that makes use of the cv.imread() method to load the image files into the memory. You need to keep track of the current image that you are looking for so we will make use of the self.current_img attribute. The attribute self.started will be just a boolean value (0 — false, 1-true). This is needed since trigger #1 just appears once per game. The other 2 triggers will run multiple times. You need to keep track of which trigger is set to execute next. To do so, make use of the self.states attribute. It’s a simple list of boolean values that tells us which triggers were already run. Finally, you want the triggers (and your script) to stop running once the game was played 5 times. To keep that counter make use of the self.click_count attribute.
You should know something before you continue your image detection bot journey. Note that the images we created are using the standard RGB color model. Well, as it turns out, OpenCV uses the BGR color model which means that our image recognition won’t really work unless we convert our images from RGB to BGR model. Let’s create a method inside our class that will grab a screenshot and convert it to BGR.
@staticmethod
def _get_image():
    img = ImageGrab.grab()
    img_cv = cv.cvtColor(np.array(img), cv.COLOR_RGB2BGR)
    return img_cv
Since OpenCV understands images as multi-dimensional arrays, you can make use of the numpy.array() method to pass the screenshot that ImageGrab.grab() created and use cv.COLOR_RGB2BGR to convert between the color models, finally returning the finalized image representation.
The next thing you need to do is to find out which trigger image we will check against the screenshot image based on which trigger you found.
def _set_image_by_state(self):
    for i, state in enumerate(self.states):
        if not state:
            self.current_img = self.images[i]
            break
We loop over all of the states and once we find the first trigger that did not run (first False value) we set the current trigger image to match the trigger. For example — if we are at trigger #1 — click to start the game — our trigger image should be this one since that is what we want our bot to find. Now we know which trigger image we will use based on states. What you need to do next is to create a method that will update the states value once the trigger click occurs.
def _update_state(self):
    for i, _ in enumerate(self.states):
        if not self.states[i]:
            if i == 1:
                self.click_count += 1
            self.states[i] = True
            break
    if all(s for s in self.states):
        self.states = [True, False, False]
        time.sleep(2)
We loop over our states and once we find the first state that did not run (value is False) we want to set it to True to mark it as finished (remember — this method will be called after click event happens). If the state is not trigger #1 you also need to increase your click counter (only do this if the game started — which means trigger #1 already passed). The last thing to check is if you passed trigger #3. Trigger #3 is the retry trigger, once you click it trigger #2 occurs again. That is why we “reset” the states values with the first value set to True — trigger #1 will never occur again since the game already started. To finalize add a sleep timer set to 2 seconds just to be able to see your reaction time before you hit trigger #2 again.
Now you need to check the actual screenshot you took against the trigger image to try and find the match. OpenCV makes this easy by using template matching. Now there are multiple ways you can use template matching and they all work differently and give out different results. I will keep it short and just go forward and tell you that you will almost always use TM_CCOEFF_NORMED for the template matching method.
def _get_score(self, ss):
    return cv.matchTemplate(ss, self.current_img, cv.TM_CCOEFF_NORMED)
We just return the array of score results trying to match the current trigger image against the screenshot you took. All that is left to do is to put the logic together and actually make use of PyAutoGui
def run(self):
    self._set_image_by_state()
    ss = self._get_image()
    res = self._get_score(ss)

    if (res >= 0.8).any():
        h, w = self.current_img.shape[:-1]
        loc = cv.minMaxLoc(res)[-1]
        pg.moveTo(loc[0] + w // 2, loc[1] + h // 2)
        self._update_state()
        pg.click()

    if self.click_count < 5:
        self.run()
The flow should go like this — set the trigger image that we look for based on the current trigger (states), create the screenshot, evaluate the trigger image against the screenshot, and if the score is 80% or more we got our match. Then get the trigger image width and height and find the coordinates of where the trigger image was found on the screenshot. By using PyAutoGUI, position the mouse on the center of the trigger image, update the state for the next trigger and make the click. Repeat the run 5 times.
You can check the final code here or take a look at the demo video below.
4. Benchmarks
You may wonder why we use OpenCV at all since PyAutoGUI has its own image detection mechanism. Short answer — speed. Now I won’t throw you my own benchmarks since I referred to this post when I made the decision to try OpenCV out. What I will, however, encourage you to look at is a bonus script for another game on Human Benchmarks that you can find here. Once you get it, run it once with render = "pg" and then switch it to render = "cv" and check the results.
That’s it for this time — as always, thanks for reading!
